

At-home Screening Kits for Tribute Members
SNT Biotech Solutions
Convenient at-home screening tests you can complete from home.

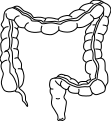



Understanding Colon Cancer

You Have the Power to Prevent Colon Cancer

What Can You Do to Prevent Colon Cancer?

Did You Know
Collecting Your FIT Sample: Step-by-step Guide

Read Instructions

Prepare Your Kit
- Do not collect a sample if you have bleeding hemorrhoids.
- Avoid collection if you notice blood in your urine. Contact your healthcare provider in that case.
- If assigned female at birth, avoid collection within 3 days of vaginal bleeding.

Step 1: Paperwork

Step 2: Deposit the Stool Sample

Step 3: Open the Collection Tube

Step 4: Scrape the Stool

Step 5: Insert the Probe into the Tube

Step 6: Dispose of the Collection Paper
Returning the Sample
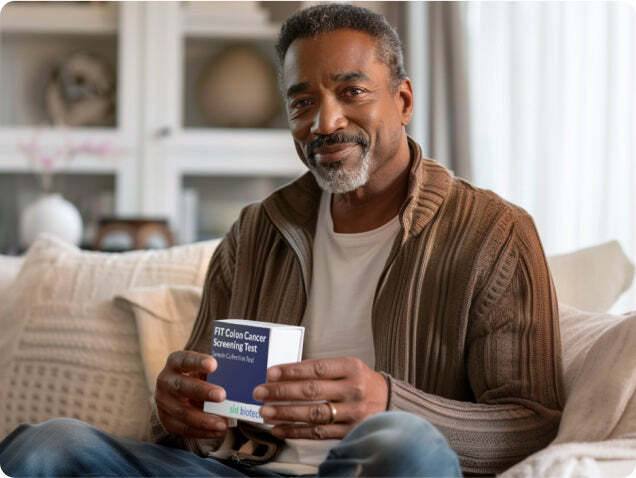
Frequently Asked Questions
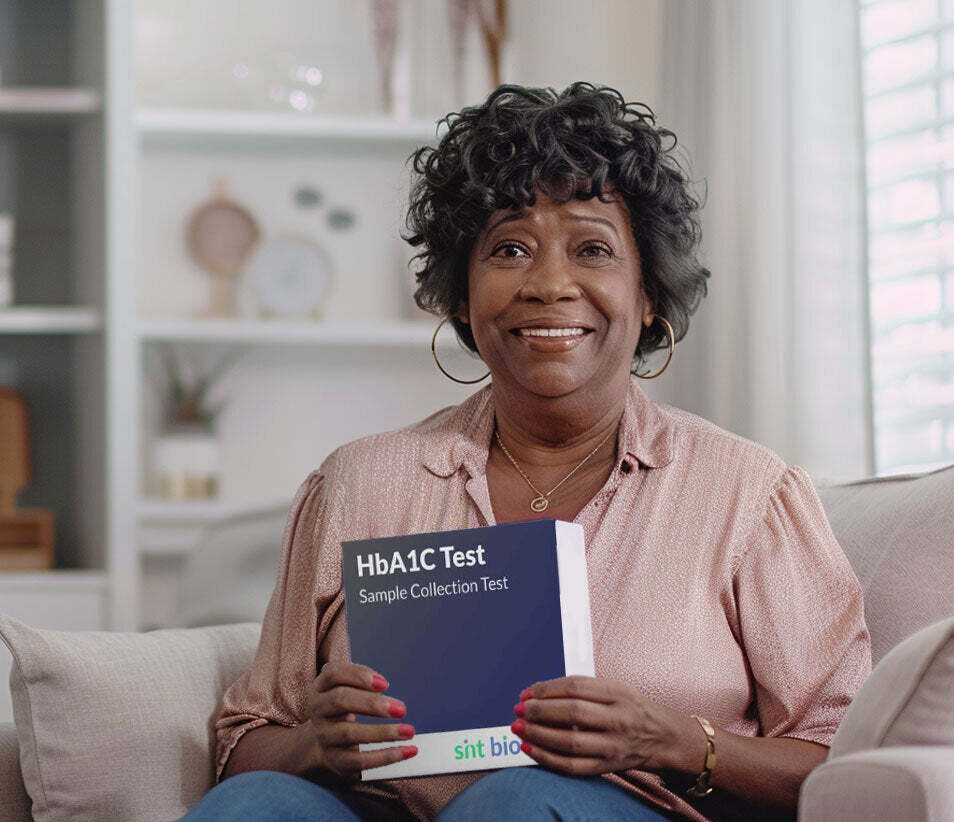
What is an HbA1c Test?
Why is it Important?

Long-Term Blood Sugar Control

Diabetes Management

Early Detection

Risk Reduction
How Does the HbA1c Test Work?


Who Should Take the Test?
Get Tested with Confidence

Sample Collection Instructions
Important Preparation
- This test requires several large drops of blood from your finger.
- Carefully read all instructions before collecting your sample.
- Drink a glass of water 30 minutes before pricking your finger.
Step 1: Complete Your Paperwork
- Fill out the label.
- Peel the label from the patient info card and stick it onto the sample pouch.
- Retain the wallet card until you receive your results.

Step 2: Warm Your Hands
- Wash your hands thoroughly with soap and very warm water.
- Rub them together for 15 seconds to stimulate blood flow.
- Massage your hand from the wrist to the fingertip to push blood to the end of your finger. This makes sample collection easier.

Step 3: Choose Your Finger

Step 4: Prep Your Space
- Open the bandage and gauze pad.
- Remove the cap from the lancet.

Step 5: Use the Lancet
- Place the lancet on a flat surface with the red tip facing up.
- Firmly press your finger against the red top until it clicks.
Step 6: Collect the Blood Sample
- Squeeze drops of blood into the collection well. Waiting for the square window to turn red.
- Firmly wipe the puncture site with the gauze pad to maintain blood flow. Apply firm pressure to release any clotted blood.
- If the square window does not turn red, use the second lancet.

Step 6: Apply the Bandage
- Once the square is red, place the bandage on your finger.
- Dispose of the lancets in your wastebasket.
Return Instructions
Frequently Asked Questions
Check Your Kidney Health - Right From Home

Why this test matters:
- Diabetes or high blood pressure
- Family history of kidney disease
- Are age 50 or older
What the Test Measures

GFR (Estimated Glomerular Filtration Rate)

Urine Albumin-to-Creatinine Ratio (UACR)

Creatinine
A waste product in your blood that your kidneys should filter - elevated levels may signal impaired function. Together, these markers give you and your provider actionable insights into your kidney health - long before symptoms appear.
What the Test Checks


What To Expect
Sample Collection Instructions
Frequently Asked Questions
Screen for cervical cancer from the comfort of home.
Your at-home HPV kit lets you collect your own sample privately, with no clinic visit and no pelvic exam. It only takes a few minutes.

HOW IT WORKS
Your kit, three simple steps

Register
Register your kit online so we can match your sample to you and send your results.

Collect
Collect your own sample at home in just a few minutes, following the simple guide in your kit.

Mail it back
Seal it in the prepaid mailer and drop it in any mailbox. Your results come to you.

WHY THIS MATTERS
A simple test that protects your health
Cervical cancer is highly preventable
When changes are found early, cervical cancer is one of the most preventable cancers. Regular screening is the key.
HPV testing looks for risk early
Certain types of HPV, a very common virus, can lead to cervical cancer over time. Testing for HPV can find that risk years before any problem develops.
You collect it yourself, in private
The at-home kit uses a simple swab you use on your own. There is no speculum and no pelvic exam.
Facts about HPV
4th Most Common Cancer
60% Not Recently Screened

6 High-Risk HPV Types
Extended genotyping with the BD Onclarity™ HPV Assay individually identifies 6 high-risk HPV genotypes, giving you and your provider more detail about your risk.
Sample Collection Instructions & Video
1. Wash Your Hands
Wash your hands with soap and water. Dry them well.
2. Label the Bag
Write your name, birth date, and today's date on the biohazard bag. Do this before you start.
3. Open the Swab
Peel open the swab package. Take out the swab. Do not touch the soft tip. Do not set the swab down. If you drop it, throw it away. Get a new one.
4. Hold the Swab
Hold the swab at the red mark. Use the hand you write with.
5. Get Ready
Find a comfortable position. Use your other hand to gently spread the skin at the vaginal opening.
6. Insert the Swab
Gently push the swab in until you reach the red mark. It should go in easily. If it hurts, stop. Talk to your health care provider.
7. Rotate the Swab
Turn the swab in a circle for 10 to 30 seconds. Then pull it out.
8. Open the Tube
Unscrew the cap from the tube. Set the cap on a clean, dry spot.
9. Break the Swab
Put the swab into the tube. Push it down to the red mark. Bend the swab to break it at that mark. Make sure the tip points down into the tube.
This helps get the right result.
10. Close the Tube
Screw the cap back on tight.
Note: Do not poke a hole in the foil on top of the cap.
11. Pack Your Sample
Put the tube in the biohazard bag. Seal the bag all the way.
12. Wash Your Hands Again
Wash and dry your hands one more time.
13. Return Your Sample
Put the bag in the box. Close the box tight. Mail it within 24 hours. Use the pre-paid return label.